This page may contain affiliate links. Please read my disclosure for more info.
Old TVs are basically smart TVs without internet and apps, and we can fix both of those shortcomings. In this article, we’ll walk through how to connect a non-smart TV to Wi-Fi quickly and easily.
How Do You Know If Your TV Has Wi-Fi Built-In?
There are a few places you can look to see if your TV is capable of connecting to Wi-Fi by itself:
- The TV panel: Some TVs will have the Wi-Fi logo on the unit itself. If you see that, it’s a sure sign that the TV has built-in Wi-Fi, but a missing logo doesn’t necessarily mean there is no Wi-Fi.
- The TV’s box: Look for a Wi-Fi logo or any mention of Wi-Fi or internet connectivity.
- The TV’s manual: Look for a section on network or internet connections.
- The TV manufacturer’s website: Find the TV model number (usually on the box, a sticker on the unit, and in the settings menu). Use that model number to find the product page on the manufacturer’s site and look for any mentions of Wi-Fi or internet.
- The TV’s settings menu: See if there is a section for Wi-Fi, network, or internet. If you see any of these, your unit likely has Wi-Fi.
How to Connect Non-Smart TVs to Wi-Fi
Use a streaming device
Streaming devices basically turn normal TVs into smart TVs. They connect the TV to the internet and provide access to a huge library of apps like Netflix, Hulu, and HBO Max.
The most popular streaming devices are:
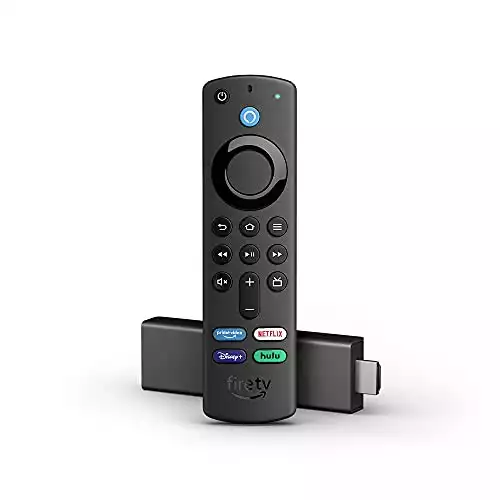
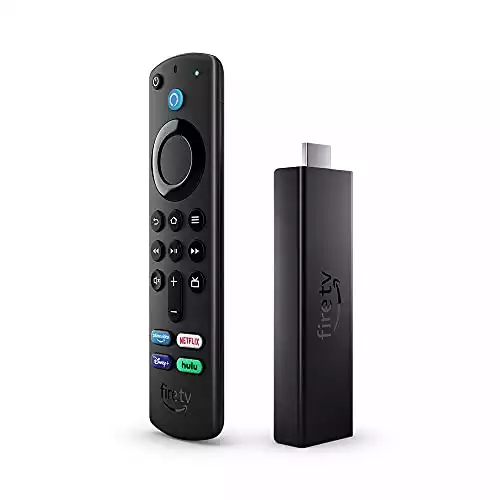
- Amazon Fire TV Stick
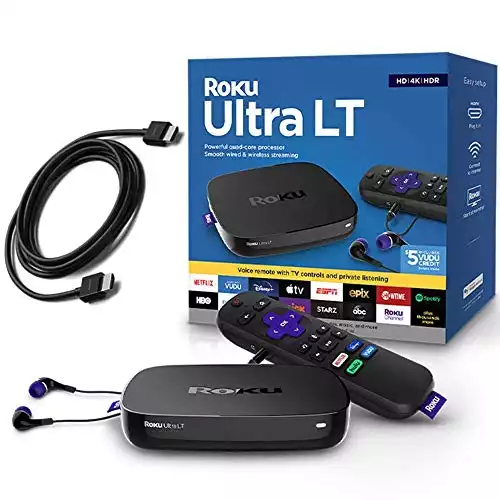
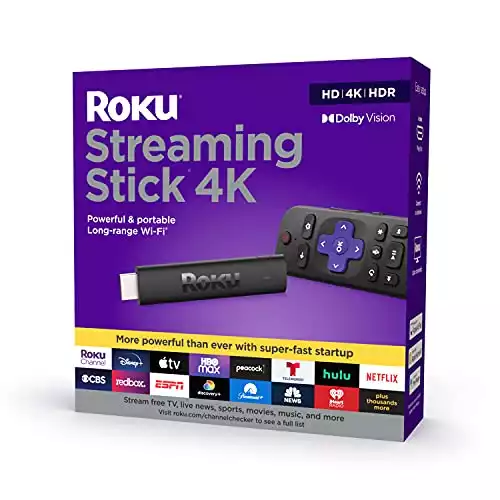
- Roku streaming stick
- Google Chromecast
- Apple TV
Any of these will let you connect to Wi-Fi. For most people, I recommend either Roku or Firestick, as they are cheap, easy to use, and support nearly every major streaming service.
|
|
|
|
$59.06
|
$39.99
|
$47.00
|
1. Connect your streaming device to power
Most streaming devices, including the Fire TV Stick, have USB power adapters. Connect the device’s power cord to the USB plug on the streaming device and plug the other end into a wall socket or power strip (using a power adapter if necessary).
Some streaming sticks can be powered by your TV’s USB port (if it has one, and most older TVs don’t). However, it’s better to plug them into a wall outlet as TV USB ports may not supply enough power.
2. Attach your streaming device to your TV
Plug the Fire TV stick’s HDMI connector into an open HDMI port on your TV. Make note of which port you are using, as you’ll need to switch to that input channel in a later step.
If your TV doesn’t have HDMI, I’ve put together separate guides for connecting Roku to TVs without HDMI and using Firestick on older TVs. You’ll need either an HDMI-to-composite or HDMI-to-component converter, but otherwise, the process is largely the same as with a TV with an HDMI port.
3. Put batteries in your streaming device remote
Most streaming devices come with batteries, but you’ll likely need to put them in the remote yourself. You’ll need the remote for the next steps, so go ahead and add the batteries now.
Your remote should auto-pair once the batteries are in. If it doesn’t work, just follow the instructions for pairing the remote, which will depend on which streaming device you went with. For the Firestick, hold the Home button for fifteen seconds to start the pairing process.
4. Turn your TV to the streaming device input
Change your TV to the HDMI input that your streaming device is connected to. When you’re on the right input, you should see a welcome screen. If you used the instructions for connecting without HDMI, switch to the component or composite input instead.
You’ll probably need your TV remote for this step unless there’s an input button on the TV itself.
5. Connect your streaming device to Wi-Fi
You should see on-screen instructions for selecting your Wi-Fi network. Go ahead and select your network and enter your Wi-Fi password. Once the connection works, you’ll be able to move on to the next step.
Connect to a computer
A streaming device is the most versatile option for getting Wi-Fi to your non-smart TV. It’s not an immediate solution, though, unless you already have a streaming stick handy.
Fortunately, you can connect a range of other devices to your TV for Wi-Fi, internet, and streaming access. The first and probably easiest option is your laptop or desktop computer.
All computers have at least one video-out port that can be used to connect to a display. We’re just going to make use of that port to connect to your TV, treating it as an external monitor.
Hopefully, your computer and TV both have HDMI ports, which will make this relatively easy, especially if you already have an HDMI cable around. If you don’t see an HDMI port on your computer, it may have any of the following that you can use instead:
- DisplayPort (Use this converter)
- Mini DisplayPort (Use this converter)
- USB-C (Use this converter)
- DVI (Use this converter)
And, of course, if your TV doesn’t have an HDMI port, you’ll need an HDMI-to-component or HDMI-to-composite converter.
Once you have the right cable, the process is easy:
- Connect the cable to your computer and TV.
- Change your TV source to the appropriate HDMI (or Composite or Component) input channel.
- Use the TV as if it were an external monitor, including Wi-Fi access.
Hook up a gaming system or Blu-ray player
All modern gaming systems have Wi-Fi access. You can use any of the following devices to access your Wi-Fi network from your TV:
- Sony PS3, PS4, PS5
- Microsoft Xbox 360, Xbox One, Xbox Series S, Xbox Series X
- Nintendo Switch
Most of the major streaming apps are also available for these systems, although the Switch is more limited than the Xbox and Micosoft options. Netflix, for example, is not available on the Switch at this time.
Most Blu-Ray players also have Wi-Fi, and many (such as the Sony UBP-X800M2) even have streaming apps built-in. These devices are cheaper than gaming systems if you want Wi-Fi but don’t really care about video games.
In any of these cases, you’ll need an HDMI input on your TV or one of the HDMI-to-composite or HDMI-to-component converters I mentioned above. Once you plug in the device, just turn the TV to the right input, and you should be good to go.
Cast from a smartphone
This option is going to require more technical know-how than the ones we’ve discussed above. There are a few different ways to cast your smartphone to your TV.
- Cast via a streaming stick: This option is probably pointless, though, since the streaming stick itself should have Wi-Fi.
- Connect over Bluetooth: If your TV has Bluetooth, this is probably the easiest option.
- Use a USB Cable: If your TV doesn’t have a USB port, you’ll need an adapter to get this to work.
Can You Use a Non-Smart TV as a Smart TV?
Any old TV can be turned into a smart TV. There are two main things that separate non-smart TVs from smart TVs: internet access and apps. Most of the above solutions will enhance your regular TV with both of these features.
In particular, streaming devices like the Fire TV Stick are built specifically to replace the functionality of a smart TV. They have as many, if not more, apps than the typical smart TV as well as extra features like internet browsers and smart assistants.
So yes, you can absolutely turn your old TV into a smart TV.
What’s Next?
Converting your old TV into a smart TV is as simple as adding Wi-Fi and app support. A streaming stick will easily accomplish that, as can any of the other methods mentioned above. This is a great stop-gap until you are ready to upgrade to an Android TV or other smart TV.
Streaming devices also offer a range of other advantages along with Wi-Fi. Firesticks have Alexa for voice commands, and Firestick remotes can become universal remotes. Couple that with a smart plug for energy saving, and you have the beginnings of a true smart home entertainment system.
|
|
|
|
N/A
|
$34.99
|
$49.99
|

Zachary has spent 12 hears in the tech industry focusing on automation, analytics, and cybersecurity. His passion is tech education; he uses his industry expertise and STEM PhD to break down complicated concepts into simple step-by-step guides. When he’s not writing or coding, you can find him binging anything Star Trek or Marvel or reading far too many sci-fi novels.
I think in #2 above you meant to say attach, not attack.
Ha, I did indeed. I must have been watching GoT when I wrote this.