This page may contain affiliate links. Please read my disclosure for more info.
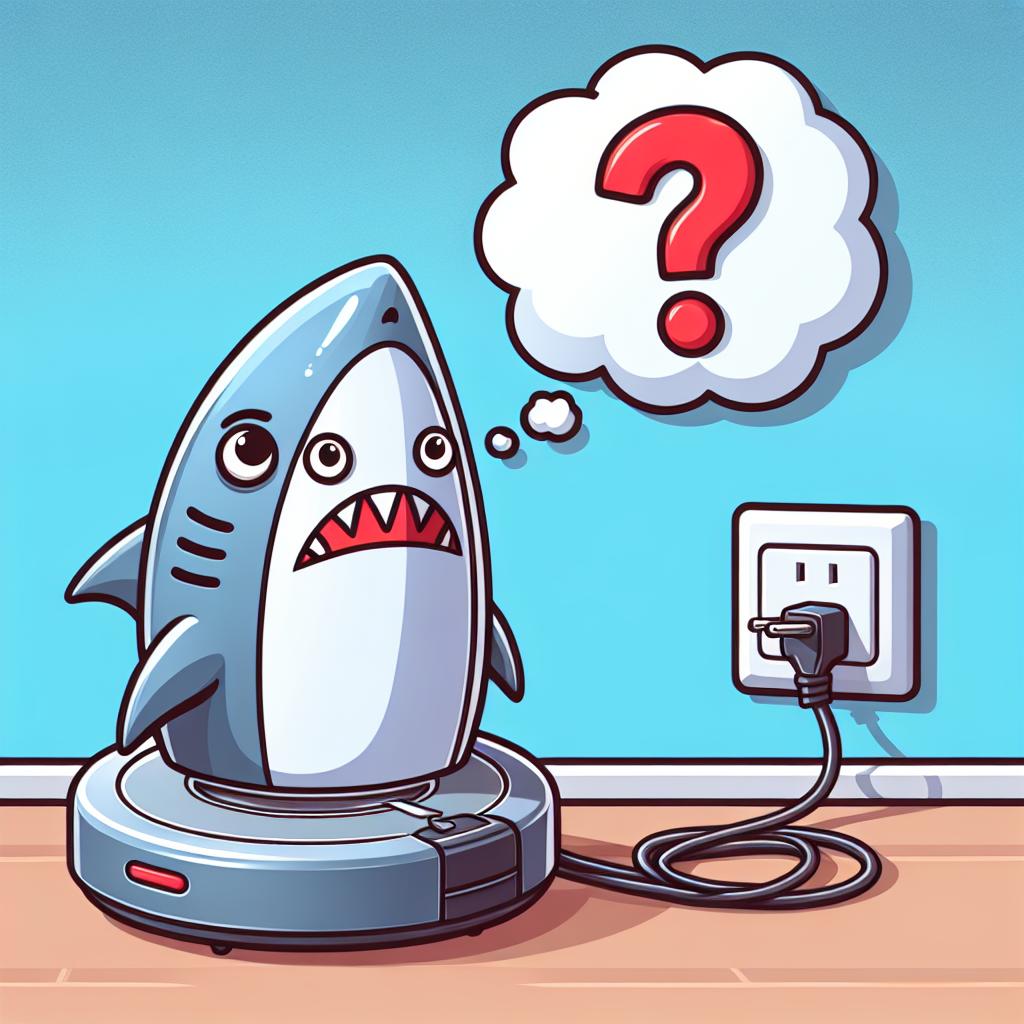
Shark Ion, IQ, and AI vacuums are huge time-savers around your home. Aside from emptying them every few days, there’s very little maintenance required for these powerful machines. However, when your Shark vacuum won’t charge, all of that convenience quickly fades away.
In this article, I’ll show you several quick fixes for the Shark robot vacuum not charging issue. We’ll start off with some easy, free solutions, leaving the harder and more expensive options only as a last resort.
1. Turn on the Power Switch
Unlike most robotic vacuums, Shark vacuums have a physical power switch. I’m sure you’ve already realized that, but you may not have realized that the Shark can’t charge when the switch is in the off position.
Go ahead and flip the switch to the on position and try charging your Shark Ion vacuum again. If it works, great. If not, we’ll move on to other common fixes.
2. Test the Power Outlet
 Klein Tools RT250 GFCI Outlet Tester with LCD Display, Electric Voltage Tester for Standard 3-Wire 120V Electrical Receptacles
Every apartment has that one outlet that, for whatever reason, just doesn’t seem to work right. Sometimes it’s completely busted. Other times, it’s just controlled by an unmarked light switch halfway across the room. Either way, it’s best to check the outlet before debugging your robotic vacuum itself.
Your Shark charging station has an indicator light that will show you whether it’s receiving power from the outlet. If the light is off or blinking, you may need to try a different outlet. You can also test your outlet with an outlet tester, a lamp, or any simple electronic device.
If the outlet is working and your docking station isn’t, you can always buy a replacement dock. They’re a lot cheaper than replacing your Shark robot vacuum itself.
3. Clean the Charging Contacts and Sensors
At this point, we know that the outlet and the charging dock are working and that the Robot vacuum is on. It’s time to check the connection between the devices.
In order to dock properly, your robot vacuum needs two things:
- The charging contacts need to form a clean connection with the contacts on the charging dock.
- The infrared lights and proximity sensors have to detect and align with the docking station.
The charging contacts are easier to get to, so we’ll start there. Flip your Shark over and look for the two metallic rectangles just in front of the battery compartment. Use a dry microfiber cloth to gently wipe any dirt off the contacts. If they still look grimy, you can further clean them with alcohol wipes.
To get to the lights and sensors, you’ll need to open the front bumper of your vacuum. Wipe them off gently with a dry microfiber cloth and use a compressed air can to remove any dust that you can’t get to with the cloth.
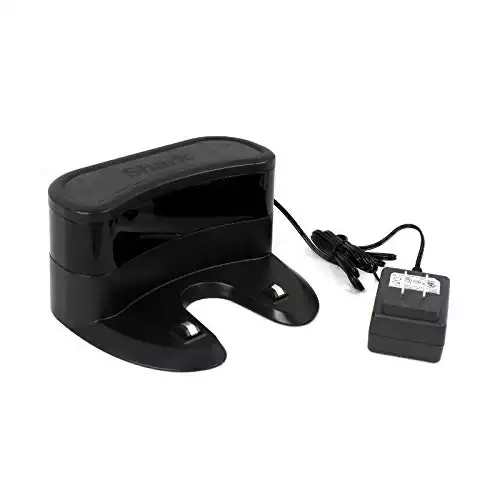
4. Clean the Charging Dock
Your charging dock isn’t going around picking up dirt, so it shouldn’t need to be cleaned nearly as often as the vacuum. That being said, it will still gather dust over time, and that dust can block the sensor window.
There’s a shiny window that extends as a stripe around your charging dock. That’s where the dock’s sensors are, and it needs to be clean of dirt for your robot vacuum to properly locate and align with the dock.
You don’t need to expose the sensors themselves during this cleaning process. Just take your microfiber cloth and wipe off the sensor window. You can use alcohol wipes if the cloth isn’t picking up all of the dirt.
5. Check the Charging Port Contact Springs
The charging contacts on your vacuum connect to two metal pins on the charging dock, both of which are spring-activated. If these springs fail, your vacuum won’t maintain a good connection with the dock. In that case, your Shark Ion vacuum won’t charge and may not even settle into the dock.
Check the springs by pressing the metal pins with your finger. If they don’t spring back into place, you’ll need to replace your charging dock.
6. Manually Dock Your Vacuum
Sometimes, it’s easiest just to skip right to the point and dock your Shark vacuum yourself. This is especially helpful if the battery is completely dead to the point where the machine can’t even attempt to find its dock.
Place the vacuum directly on the charger, with the bumper facing toward the dock. You need to ensure that the charging plates are properly aligned with the contacts on the dock. If you’ve placed it correctly, the front of the shark should be about 1/2 inch from the vertical portion of the dock.
If the battery is completely dead, you’ll have to wait several minutes for the Shark to register that it is charging. When that happens, the blue light will start to flash, signaling that your part of the task is complete. If the light is green, you’ll need to wiggle the machine back into place.
You’ll still want to wait for the machine to charge completely before you use it again. If the connection is lost prematurely, you may have to restart the process.
7. Reconnect the Battery
Before we start looking at replacements, let’s make sure the battery is securely connected to your Roomba. To get to the battery compartment, flip your vacuum over and unscrew the battery cover, located between the roller brush and the charging contacts.
Pull the battery out far enough to get to the cable. Disconnect the cable from the vacuum and then reconnect it, ensuring that it’s forming a tight connection with the port.
Now, you can try pressing the dock button again or manually docking the vacuum.
8. Replace the Battery
Shark Ion batteries last about two years under typical usage. If you’re trying to count how many years it’s been since you bought your robot vacuum, there’s a good chance the battery needs to be replaced.
Make sure you buy a battery pack that is compatible with your Shark vacuum model. This one works with the Shark RV700, RV720, RV750, and RV755 as well as the Ecovacs N79 and N795. And this one works with most other Shark robot vacuum models.
Once you have the new battery, just follow the same steps that you used to check the battery. But when you remove the old one, replace it with your newly bought battery. Be sure to dispose of the dead one properly, remembering that it is a lithium-ion battery.
9. Contact Shark Support
Before you get out your wallet, you should contact Shark to see whether you can get your vacuum serviced or replaced under warranty. Make sure you have the receipt ready, as they will ask for it.
Unless your vacuum is relatively new and well-maintained, you probably won’t be getting a free replacement. Still, it’s worth the quick phone call to try.
10. Get a Replacement Vacuum
Hopefully, one of the previous steps fixed your problem. Most Shark robot vacuums should last at least 4–6 years, assuming typical usage and good maintenance, but even the best machines die eventually.
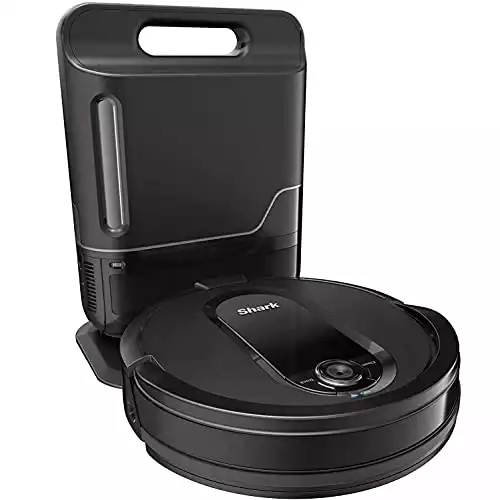
There are several Shark vacuums to choose from, but here are a few of my top picks:
- If you’re on a budget — the Shark Ion AV753.
- If you have pets — the Shark AI RV2001.
- If you have a big home — the Shark IQ RV1001AE with self-emptying base.
You could also look at how Shark vs Roomba robot vacuums compare. Sharks are a great all-around pick, but Roombas can be good for those with dust sensitivities and are better at cleaning around some edges of your home.
What’s Next?
To avoid future issues with your Shark, check out my robot vacuum tips and tricks. I originally compiled that list for Roomba owners, but nearly all of them apply to Sharks, too. Along with maintenance tips, I’ve also compiled guides on using a robot vacuum on multiple floors and preventing your robot vacuum from getting stuck under furniture, in case you’re dealing with either of those dilemmas.
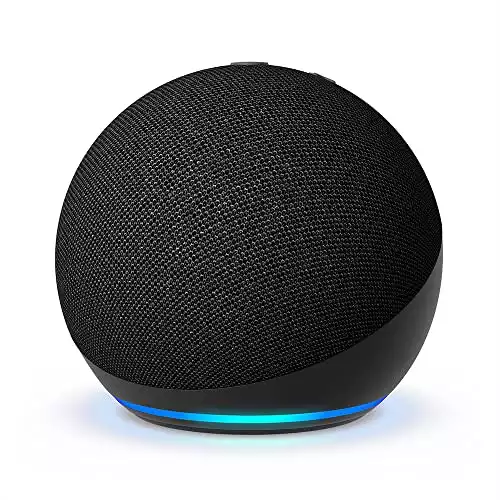
Robot vacuums are a huge time saver, but vacuuming isn’t the only household task that robots can help out with. Robot mops can be worth buying for some households, especially if you’re dealing with a lot of spills. You can even coordinate both robots through a cheap Alexa setup, giving your home a real Jetsons feel.
|
|
|
|
N/A
|
$34.99
|
$49.99
|

Zachary has spent 12 hears in the tech industry focusing on automation, analytics, and cybersecurity. His passion is tech education; he uses his industry expertise and STEM PhD to break down complicated concepts into simple step-by-step guides. When he’s not writing or coding, you can find him binging anything Star Trek or Marvel or reading far too many sci-fi novels.